The Bare Edit Collection: Professional Tips to Apply The GelBottle Gel Perfectly

How to Apply The GelBottle Inc. The Bare Edit Collection: Step-by-Step Guide for Professional Gel Nails
If you’re looking to create flawless, natural-looking gel manicures, the The GelBottle Inc. The Bare Edit Collection is the perfect solution. This collection of sheer, nude, and soft neutral gel polishes is designed for nail technicians, salon professionals, and nail enthusiasts who want elegant, understated nail looks that last.
In this guide, we’ll cover how to apply The Bare Edit gels, best techniques for smooth coverage, tips for French manicures, baby boomer nails, and natural gel manicures, and professional advice for long-lasting results.
What Is The GelBottle Inc. The Bare Edit Collection?

The The GelBottle Inc. Bare Edit Collection features a curated set of neutral-toned gel polishes, including soft blushes, creamy nudes, and translucent pinks. Designed to enhance the natural nail bed, The Bare Edit Collection is perfect for:
-
Natural gel manicures
-
Minimalist nail designs
-
French tips and baby boomer nails
-
Bridal or professional salon manicures
With its sheer buildable formula, it’s ideal for creating a “your nails but better” look, giving clients elegant results while maintaining professional durability.
Step 1: Prepare the Natural Nail
Proper nail preparation is essential for maximum adhesion and long-lasting wear. Follow these steps for the best results with The Bare Edit Collection:
-
Sanitize hands for both client and technician.
-
Push back cuticles gently and remove excess cuticle tissue.
-
Shape nails with a 180–240 grit file to create even nail edges.
-
Lightly buff the nail plate to remove surface shine.
-
Cleanse nails with a lint-free wipe and nail cleanser to remove oils and dust.
✅ Pro Tip: Proper prep prevents lifting, chipping, and uneven gel coverage.
Step 2: Apply Base Gel
Before using The Bare Edit gels, apply a professional gel base.
-
Apply a thin layer of a compatible base gel (like The GelBottle Base Coat).
-
Keep the coat thin to avoid pooling at the cuticle.
-
Cap the free edge to seal the nail.
-
Cure under an LED lamp for 30–60 seconds depending on lamp strength.
Step 3: Apply The Bare Edit Gel Polish
The Bare Edit gels are sheer and buildable, so thin layers are key.
-
Apply a thin coat of your chosen Bare Edit shade.
-
Float the gel over the nail plate for even coverage.
-
Avoid contact with cuticles and sidewalls to prevent lifting.
-
Cap the free edge for long-lasting wear.
-
Cure under an LED lamp for 30–60 seconds.
Building Coverage
-
Apply a second thin layer for deeper coverage or more opaque results.
-
Allow the gel to self-level before curing.
Step 4: Top Coat
Seal the manicure with a gel top coat:
-
Apply a thin layer over the nail.
-
Cap the free edge.
-
Cure under an LED lamp for the recommended time.
Recommended Top Coats for The Bare Edit Collection
-
The GelBottle Top Coat Glossy – for shiny, high-gloss finishes
-
The GelBottle Matte Top Coat – for a soft, understated look
Step 5: Finishing Touches
-
Apply cuticle oil to hydrate and nourish skin.
-
Massage into cuticles and surrounding skin.
-
Wipe the nails if necessary for a clean finish.
Your result should be smooth, natural, and professional.
Tips for Professional Nail Technicians
-
Thin layers: Avoid thick coats to prevent peeling or uneven curing.
-
Self-leveling: Let the gel settle naturally for flawless coverage.
-
Cap edges: Seal free edges to increase longevity.
-
Shade selection: Choose shades based on client skin tone for natural results.
-
French manicures & ombre: The Bare Edit Collection is perfect as a base for gradients or classic French nails.
Nail Designs That Work Perfectly with The Bare Edit Collection
-
Natural Gel Manicures – clean, polished, professional look
-
French Tip Nails – soft nude base for classic French tips
-
Baby Boomer Ombre Nails – blend with white or lighter shades for elegant gradient
-
Minimalist Bridal Nails – soft tones that complement any wedding palette
-
Professional Salon Clients – neutral base ideal for all client requests
Removal Instructions
The Bare Edit gels are soak-off gels.
-
File off top gloss layer.
-
Soak cotton pads in gel remover.
-
Wrap nails in foil for 10–15 minutes.
-
Gently push off softened gel with a cuticle pusher.
-
Buff nails lightly and apply cuticle oil.
FAQ: The Bare Edit Collection
Q: Can I use The Bare Edit gels alone?
Yes. They are sheer and buildable, perfect for natural manicures without additional gel layers.
Q: How long do Bare Edit manicures last?
With proper prep and curing, manicures typically last 2–3 weeks without chipping.
Q: Can beginners use The Bare Edit Collection?
Yes. The formula is easy to work with, though professional results are best achieved with proper nail prep and thin layers.
Q: Are the Bare Edit gels suitable for French manicures?
Absolutely. Sheer nude tones provide a natural nail bed for classic or modern French designs.
Final Thoughts
The The GelBottle Inc. The Bare Edit Collection is a must-have for professional nail technicians, salon owners, and nail enthusiasts seeking natural nude gel manicures. Its sheer, buildable formula, professional durability, and elegant neutral tones make it ideal for everything from French tips and baby boomer nails to minimalist, everyday manicures.
By following this step-by-step application guide, you can achieve flawless, long-lasting results every time, making The Bare Edit Collection a staple in your professional nail kit.
Discover Classique Nail Supply
-
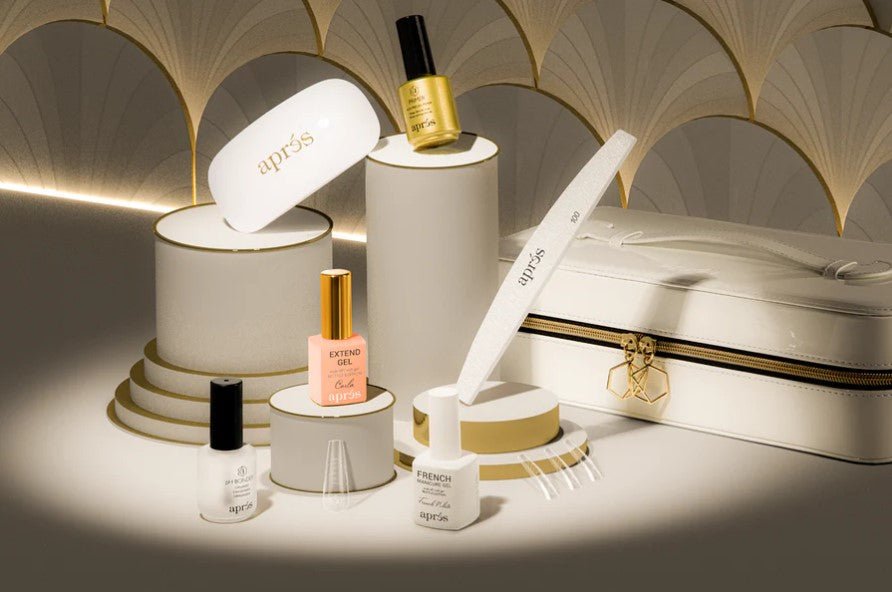
Apres Gel Polish
Apres Gel Polish Experience the innovation of Apres Gel Polish, a professional-grade gel...
-
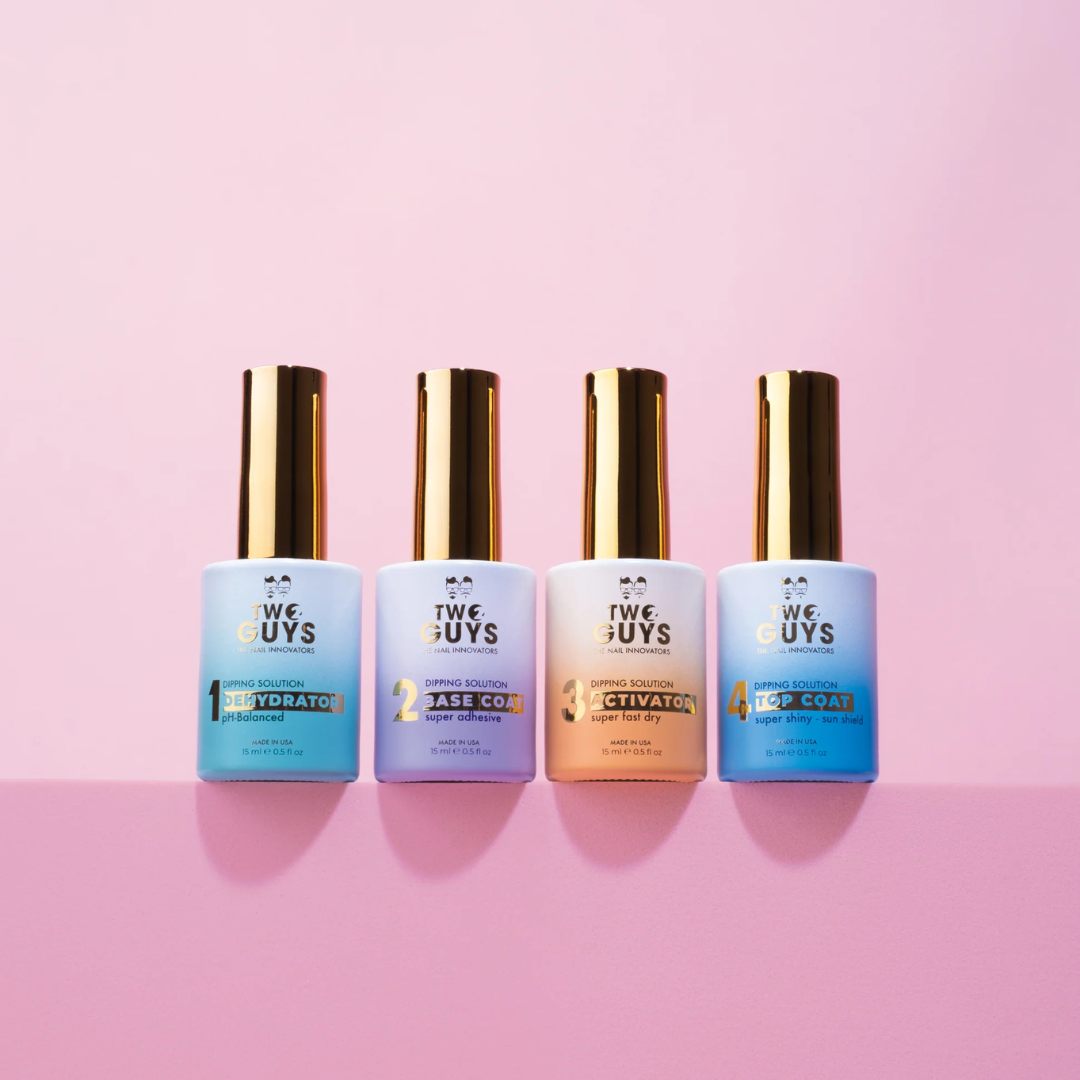
2Guys Dipping Liquid
2Guys Dipping Liquid Enhance your nail services with 2Guys Dipping Liquid, the...
-

Acrylic Monomer – Professional Nail Liquid for Acrylic Nail Systems
Acrylic Monomer – Professional Nail Liquid for Acrylic Nail Systems Achieve flawless,...
-
Apres Gel-X
Apres Gel-X Aprés Nails Elevate your nail services with Apres Gel-X and...
-

OPI Nail Polish & Gel Collection – Professional, Long-Lasting Colors
OPI Discover the iconic OPI nail polish and gel collections loved by...
-

Essie Gel Couture Pattern Play Collection
Essie Gel Couture Pattern Play Collection Step up your manicure game with...
-
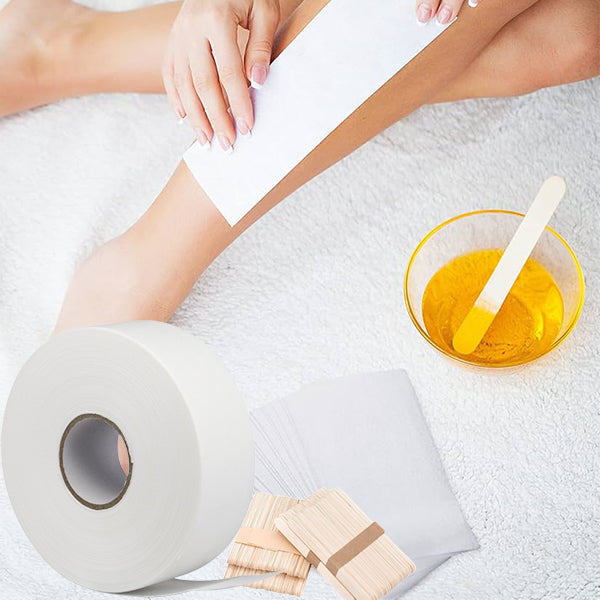
Hair Removal Wax
Professional Hair Removal Wax Achieve silky smooth skin with our professional Hair...
-
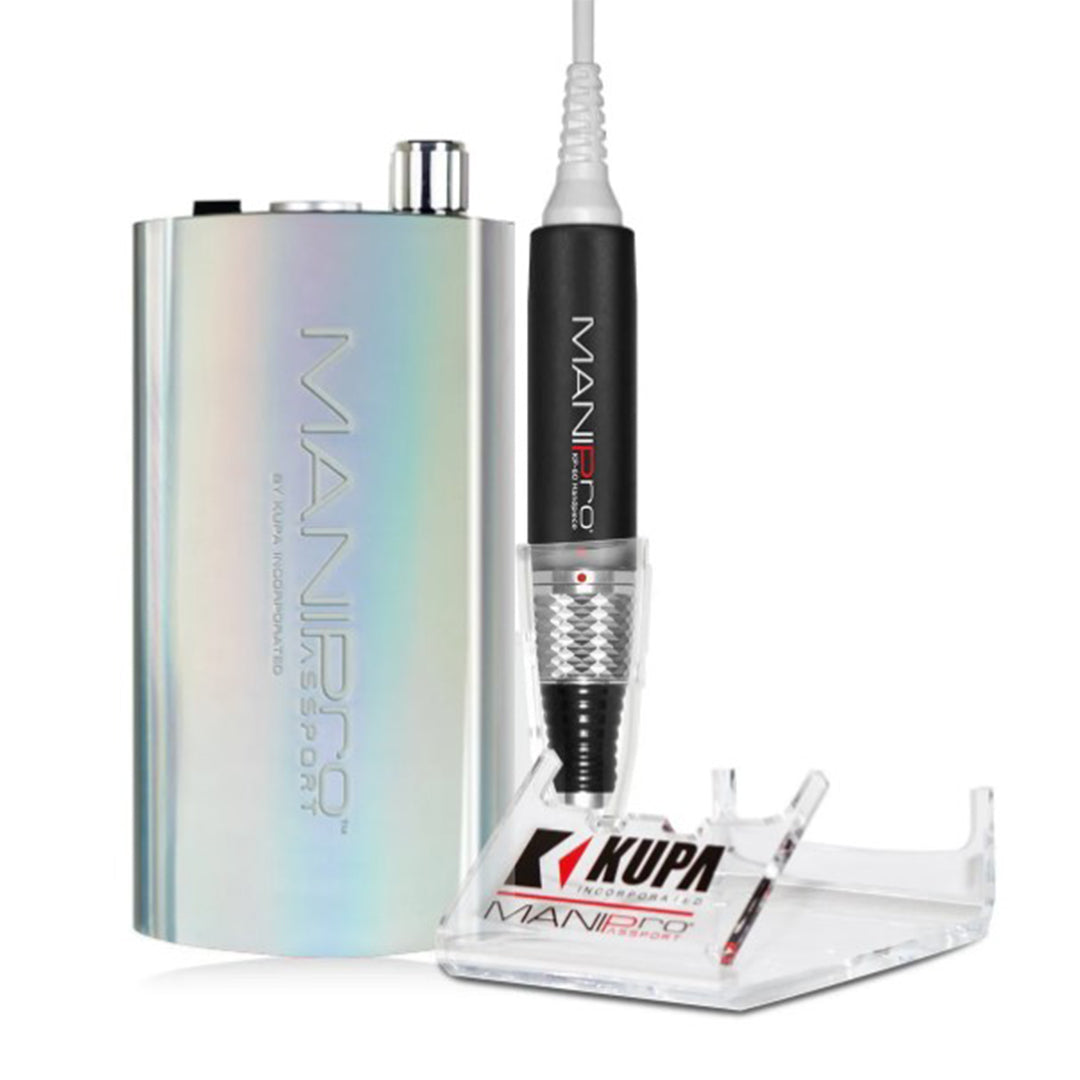
Wholesale EFile, Nail Drill Machine
EFile nail drill, Nail Drill Machine, Electric Nail Drill Gone are the...
-
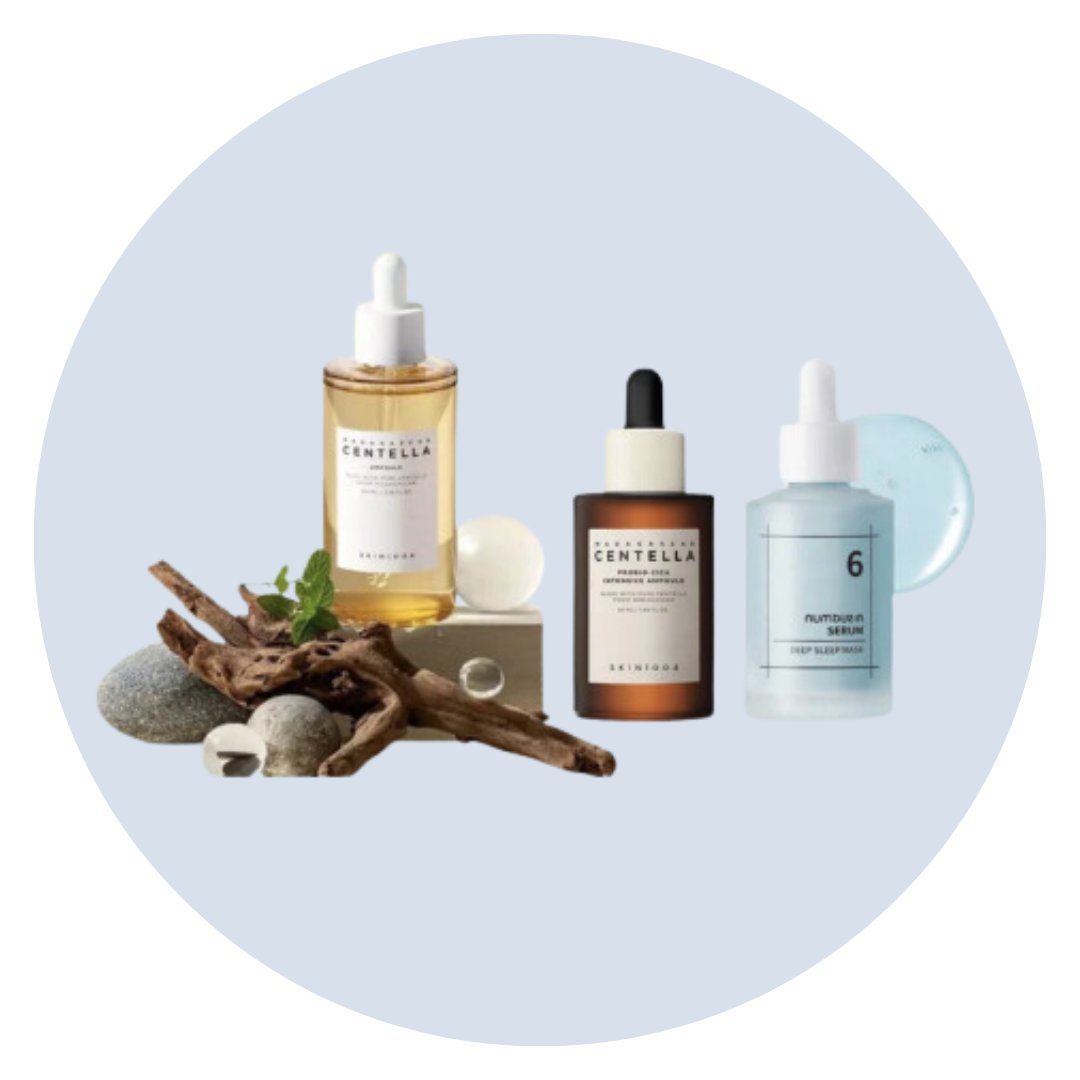
Korean Skincare – Numbuzin, COSRX, Mixsoon, Skin1004 & More
Korean Skincare – Numbuzin, COSRX, Mixsoon, Skin1004 & More Experience the...


Keep Up With our Blogs
VIEW ALL-

Mother’s Day Nail Trends 2026: Elegant Designs ...
Mother’s Day Nail Trends 2026: Elegant Designs & Must-Have Products for the Perfect Set Mother’s Day is the perfect moment to create something thoughtful, polished, and elevated—and this year’s Mother’s Day...
Mother’s Day Nail Trends 2026: Elegant Designs ...
Mother’s Day Nail Trends 2026: Elegant Designs & Must-Have Products for the Perfect Set Mother’s Day is the perfect moment to create something thoughtful, polished, and elevated—and this year’s Mother’s Day...
-

NailPop Patting Gels & Solid Gel Palettes: ...
NailPop Patting Gels & Solid Gel Palettes: The Ultimate Guide to Effortless Nail Art Nail art is evolving—and NailPop Patting Gels and Solid Gel Palettes are leading the next wave...
NailPop Patting Gels & Solid Gel Palettes: ...
NailPop Patting Gels & Solid Gel Palettes: The Ultimate Guide to Effortless Nail Art Nail art is evolving—and NailPop Patting Gels and Solid Gel Palettes are leading the next wave...
-

énoi Spring New Arrivals: The Magnetic Nail Tre...
énoi Spring New Arrivals: Prism, Jewel, Jelly Magnet, Magnet Flash, Diamond Flash & Multi-Magnets Spring is a season of transformation—and the latest énoi Spring collection captures that shift with light-reflecting...
énoi Spring New Arrivals: The Magnetic Nail Tre...
énoi Spring New Arrivals: Prism, Jewel, Jelly Magnet, Magnet Flash, Diamond Flash & Multi-Magnets Spring is a season of transformation—and the latest énoi Spring collection captures that shift with light-reflecting...


