
How to Apply & Remove Thick Texture Gel Nail Polish

Korean gel nail polish, The Gel Bottle gel polish and Apres gel polish are known for its intense pigmentation, thicker consistency and high-quality formulation. With proper application, it can last over 21 days. Known for their highly pigmented, durable formulas made from safe ingredients, they are favored by both professional nail technicians and DIY enthusiasts alike.
If you’re new to working with thick gel polish, don’t worry — with the right steps and tools, you can achieve a salon-worthy manicure and safely remove it at home. Here’s your complete guide to applying and removing thick texture gel nail polish.
With the right gel polish, you can effortlessly achieve salon-quality nails from the convenience of your own home.
Everything You Need to Know about Applying Intense Pigmentation & Thicker Consistency Gel Polish
Applying gel nail polish requires several steps. Using the correct products can help you achieve a professional-looking result. With the proper tools and technique, you can easily create beautiful gel manicures at home. Here’s a step-by-step guide:
Step 1 – Nail Prep
- Sanitize your own and your customer’s hands.
- Use a cuticle pusher to push back the cuticles before trimming away excess with nail nippers.
- File nails into shape using a Nail File.
- Gently buff nails using a Buffer to remove any shine.
- Dehydrate and cleanse the nail plate using 100% pure acetone. No ‘prep-and-wipe’ or ‘scrub-fresh’ solutions.
Step 2 – Base Coat
- Apply a thin and precise layer of Base Coat.
- Seal the free edge.
- Cure for 60 seconds in an LED nail lamp or 99 seconds if using low heat mode. If the customer experiences a ‘heat spike’, remove the nails from the lamp. Lost seconds must be regained using Low Heat Mode again.
Step 3 – Gel Nail Colors
Apply 1-2 thin coats of gel polish color, curing each coat for 30-60 seconds. Korean gel nail polish, The Gel Bottle gel polish, and Apres gel polish are usually thicker, needing only one or two coats for complete coverage. Cure each coat with an LED light nail lamp before applying the next.
**Note: Using a liner brush to thin out the gel polish around the edges of the nail surface. After that, turn your nail upside down for 15 seconds. This helps the gel polish spread evenly across the nail and look better.
Step 4 – Top Coat
Finish with a matte top or glossy top coat layer, cure again with an LED nail lamp for 90-120 seconds. This seals in the color and gives your nails a matte or glossy finish.
Step 5 – Cutile Oil & Moisturize
Massage cuticles with oil or cuticle cream. Use a gentle nail polish remover to clean up any mistakes. After your nails are done, apply cuticle oil to the skin around your nails. To care for your gel nail polish, avoid contact with chemicals, such as acetone or alcohol.
How to Remove Gel Nail Polish

Step 1 – PREP
Sanitize your own and your customer’s hands.
Step 2 – TOP COAT REMOVAL
Using the nail file or nail drill machine in low mode, remove the topcoat by filing the entire surface of the leftover gel polish until the shine has gone completely.
Step 3 – SOAK OFF
Soak Lint Free Wipes in plenty of 100% acetone and wrap in foil or place (folded), on each finger. Leave to soak for 10 to 15 minutes, times may vary depending on the products used such as nail art, glitter and number of layers
Step 4 – REMOVAL
- Remove the foil from one nail whilst keeping the others wrapped in acetone. Use a cuticle pusher to gently scrape away the gel.
- Don’t force the gel off, if it is still hard, allow the gel to soak for longer.
- Use a Cuticle Pusher to remove any remaining soaked gel.
Make sure you support the customer’s natural nail tip with your finger while removing the gel to avoid bending or snapping the nail.
Step 5 – BUFF AND SHAPE
- If there is any Base Coat residue left, use a nail Buffer to gently buff it off.
- Any Base Coat left on the nail plate needs to be only slightly buffed to avoid over buffing the natural nail, concentrating on areas around the cuticles
Discover Classique Nail Supply
-
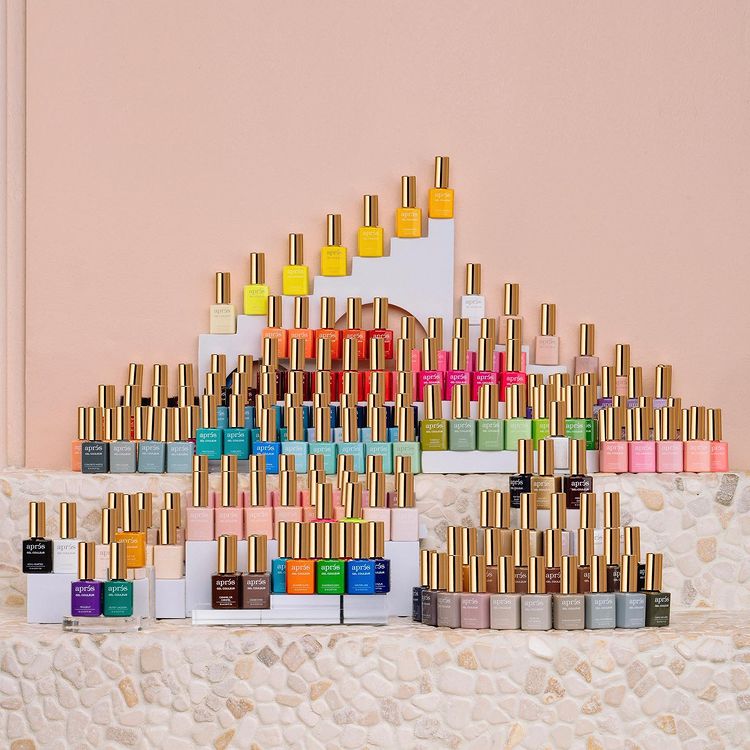
Apres Gel Polish
Apres Gel Polish Experience the innovation of Apres Gel Polish, a professional-grade gel...
-
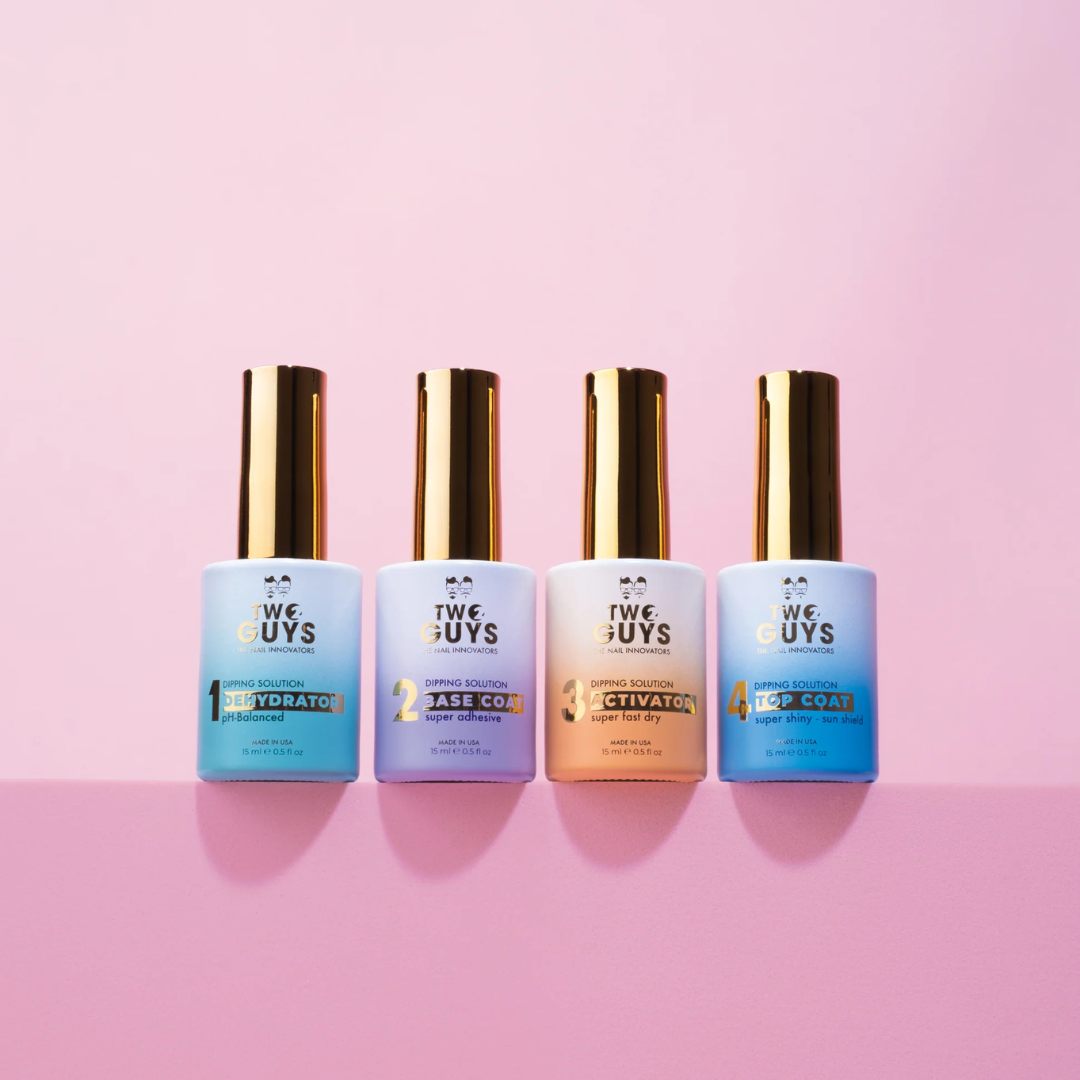
2Guys Dipping Liquid
2Guys Dipping Liquid Enhance your nail services with 2Guys Dipping Liquid, the...
-

Acrylic Monomer – Professional Nail Liquid for Acrylic Nail Systems
Acrylic Monomer – Professional Nail Liquid for Acrylic Nail Systems Achieve flawless,...
-
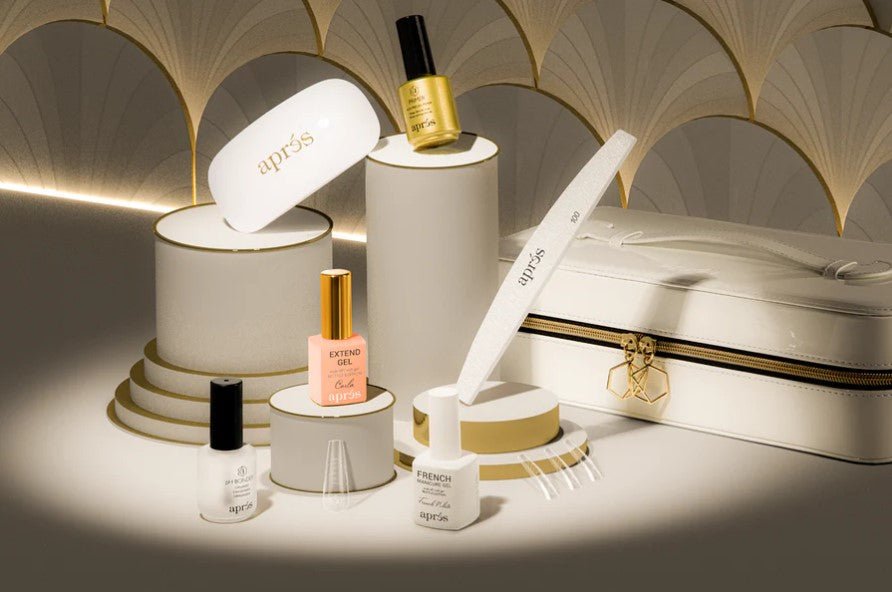
Apres Gel-X
Apres Gel-X Aprés Nails Elevate your nail services with Apres Gel-X and...
-
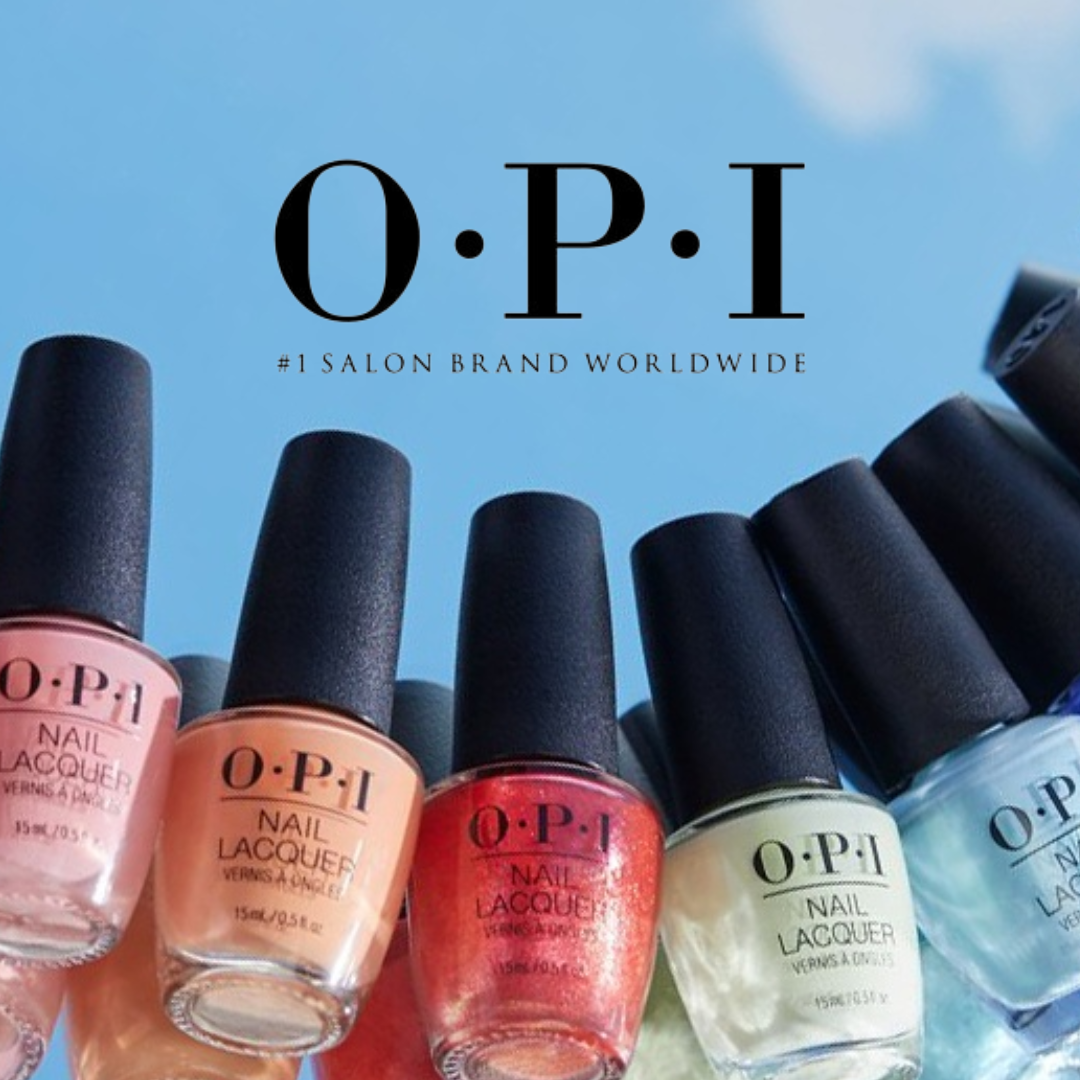
OPI Nail Polish & Gel Collection – Professional, Long-Lasting Colors
OPI Discover the iconic OPI nail polish and gel collections loved by...
-

Essie Gel Couture Pattern Play Collection
Essie Gel Couture Pattern Play Collection Step up your manicure game with...
-
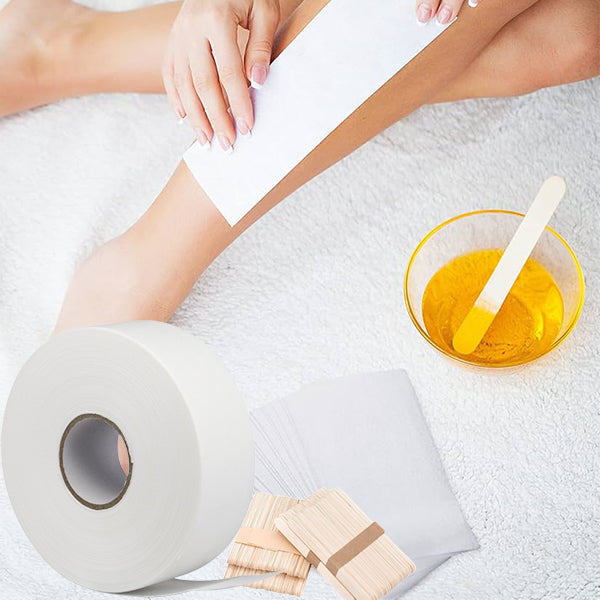
Hair Removal Wax
Professional Hair Removal Wax Achieve silky smooth skin with our professional Hair...
-
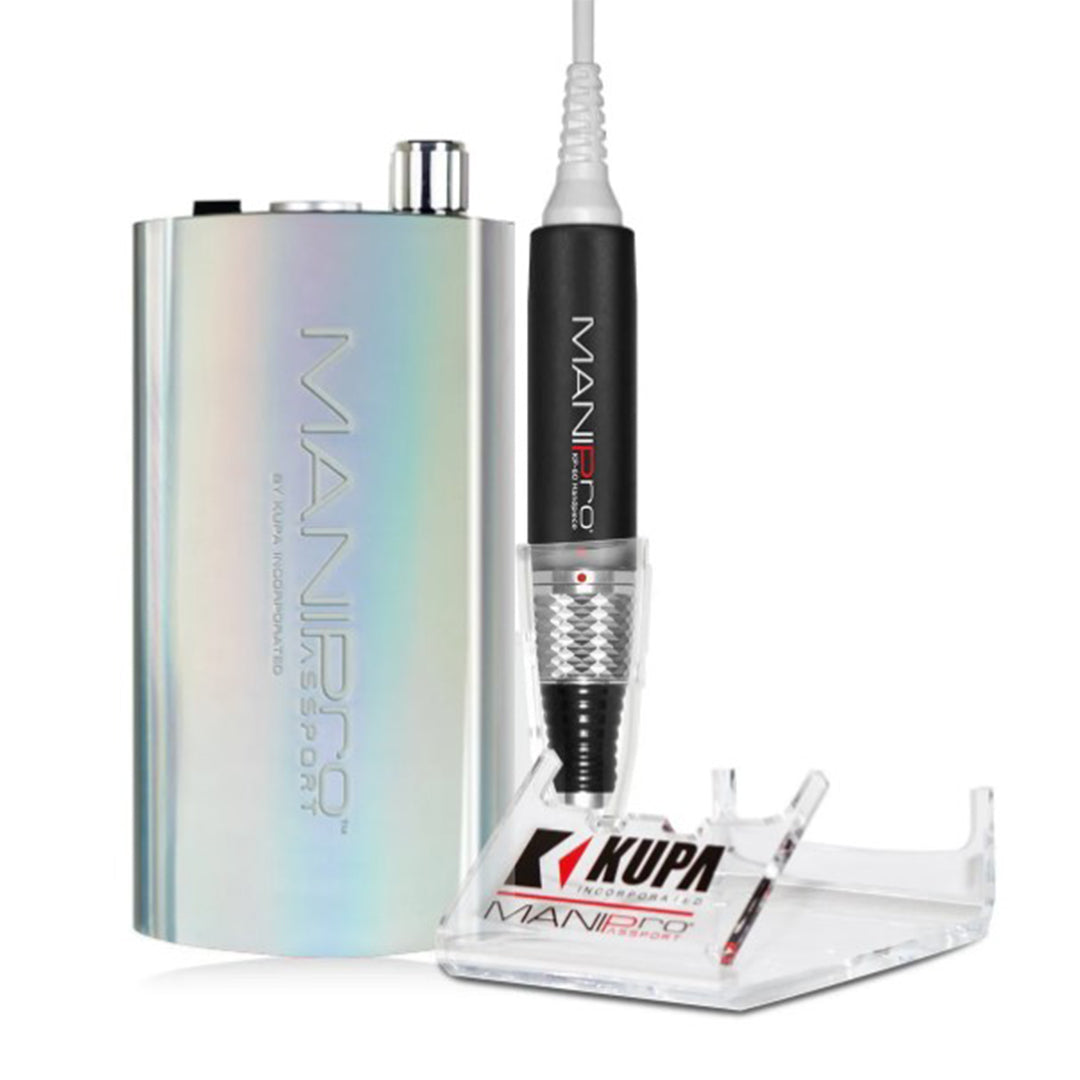
Wholesale EFile, Nail Drill Machine
EFile nail drill, Nail Drill Machine, Electric Nail Drill Gone are the...
-
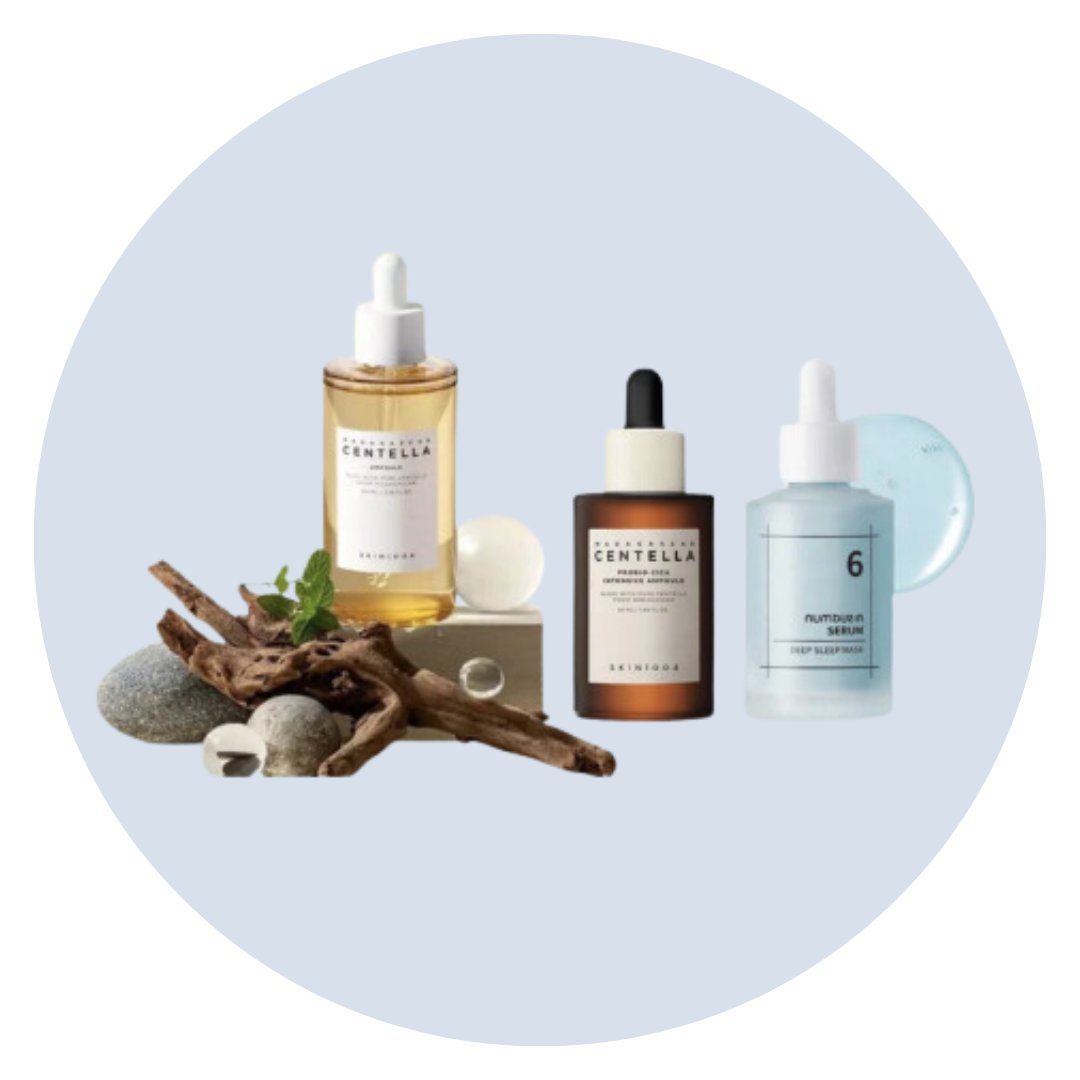
Korean Skincare – Numbuzin, COSRX, Mixsoon, Skin1004 & More
Korean Skincare – Numbuzin, COSRX, Mixsoon, Skin1004 & More Experience the...


Keep Up With our Blogs
VIEW ALL-

Discover Your Next Favorite Nail Brand with Cla...
Discover Your Next Favorite Nail Brand with Classique Discovery Kits If you've ever wanted to try a new nail brand without committing to an entire collection, our Classique Discovery Kits are...
Discover Your Next Favorite Nail Brand with Cla...
Discover Your Next Favorite Nail Brand with Classique Discovery Kits If you've ever wanted to try a new nail brand without committing to an entire collection, our Classique Discovery Kits are...
-

Introducing the New Énoi Curated Bundles: The U...
Introducing the New Énoi Curated Bundles: The Ultimate Japanese Gel Collections for Every Nail Artist Building your dream Énoi Japanese gel collection has never been easier. Introducing the brand-new Énoi...
Introducing the New Énoi Curated Bundles: The U...
Introducing the New Énoi Curated Bundles: The Ultimate Japanese Gel Collections for Every Nail Artist Building your dream Énoi Japanese gel collection has never been easier. Introducing the brand-new Énoi...
-

July Mega Sale: Save 10% on Canada's Best Profe...
July Mega Sale: Save 10% on Canada's Best Professional Nail & Beauty Brands If you're searching for the best nail supply sale in Canada, your search ends here. For a...
July Mega Sale: Save 10% on Canada's Best Profe...
July Mega Sale: Save 10% on Canada's Best Professional Nail & Beauty Brands If you're searching for the best nail supply sale in Canada, your search ends here. For a...


