
How to Transform Your Space into a DIY Home Gel Nail Salon

How to Set Up Your Own DIY Home Salon for Gel Polish and Gel Nails
Introduction
The rise of DIY gel polish and gel nails has completely changed the way people enjoy manicures. You no longer need to book endless salon appointments to achieve professional-quality gel nails at home. With the right tools, products, and a little setup, you can create your own home nail salon for gel polish that rivals any professional studio. In this guide, we’ll walk you through everything you need to know to design the perfect DIY gel nail salon setup—from must-have equipment to step-by-step application tips.
Why Choose a DIY Home Nail Salon for Gel Polish?
Setting up your own DIY gel nail salon at home saves time, money, and gives you full creative control. Instead of spending hundreds on salon visits, you can:
-
Create long-lasting gel polish manicures anytime you want
-
Practice nail art trends like cat eye gel, glitter gel, and ombré gel nails
-
Use professional gel polish products for salon-level results at home
-
Enjoy a clean, private workspace dedicated to DIY gel nails
- Get paid to do what you love!!!
Step 1: Choose the Right Space for Your Home Nail Salon
Your DIY gel nail salon doesn’t need to take up much space—but choosing the right location matters. Ideally, pick a well-lit, ventilated area like a desk near a window. Good lighting ensures precise gel polish application, while proper ventilation keeps your space comfortable when using nail tools.
Step 2: Must-Have Equipment for DIY Gel Nails
To create flawless gel polish manicures at home, stock your home salon with essential tools:
-
LED/UV lamp – for curing gel polish and gel nails properly
-
Nail dust collector – to keep your workspace clean and dust-free
-
Nail drill & bits – for prepping nails and removing old gel polish
-
Professional gel nail files & buffers – to shape nails without damage
-
Cuticle pusher & nippers – to prep the nail plate for longer-lasting gel polish
Step 3: Essential Products for DIY Gel Polish and Gel Nails
No DIY home nail salon is complete without high-quality nail products. Stock up on:
-
Base coat & top coat gel polish – for adhesion and shine
-
HEMA-free gel polish – safer formulas for sensitive nails
-
Builder gel or AcryGel – for nail strength and extensions
-
Gel polish colors – from classic nudes to trendy Korean gel polish collections
-
Cuticle oil & nail care products – for hydration and healthy natural nails

Step 4: Organize Your Home Salon Setup
Keeping your DIY nail salon setup organized makes manicures easier and more enjoyable. Use storage boxes, shelves, or a rolling cart to store your gel polish colors, nail tools, and brushes. A clutter-free space ensures a smoother workflow and a true professional salon vibe at home.
Step 5: Mastering DIY Gel Polish Application
Follow these steps for perfect gel nails at home:
-
Prep the nails – file, buff, and push back cuticles.
-
Apply gel polish color – thin layers, curing each one.
-
Seal with top coat – for shine and chip resistance.
-
Finish with cuticle oil – to nourish natural nails.
Pro tip: Always cap the free edge of your nails with gel polish to prevent chipping.
Step 6: Nail Art Trends You Can Do at Home
Your DIY gel nail salon is the perfect place to experiment with:
-
Cat eye gel polish using magnetic effects
-
Glitter gel nails for sparkle
-
Syrup gel polish for translucent gradients
-
Ombré gel nails with sponges or brushes
-
French gel polish tips for a timeless look
Step 7: Maintenance and Safety for Your Home Salon
-
Always sanitize your tools after each use
-
Replace or clean dust collector filters regularly
-
Store gel polish bottles upright away from sunlight
-
Keep your work area dust-free and organized for healthier results
Conclusion
Setting up a DIY home salon for gel polish and gel nails is easier than ever. With the right tools, products, and a dedicated space, you can enjoy salon-quality gel polish manicures at home that are long-lasting, stylish, and affordable. Whether you’re a DIY gel nail beginner or a beauty lover looking to expand your skills, a home gel polish salon setup gives you the freedom to create flawless nails anytime.
Shop Everything You Need


Hello Syrup Gel Polish Collection

OPI Gel Polsih Collection Wicked


apres Nova UV Red Light Nail Lamp


Pro Stainless Steel Nail Clippers & Cuticle Snippers


Discover Classique Nail Supply
-
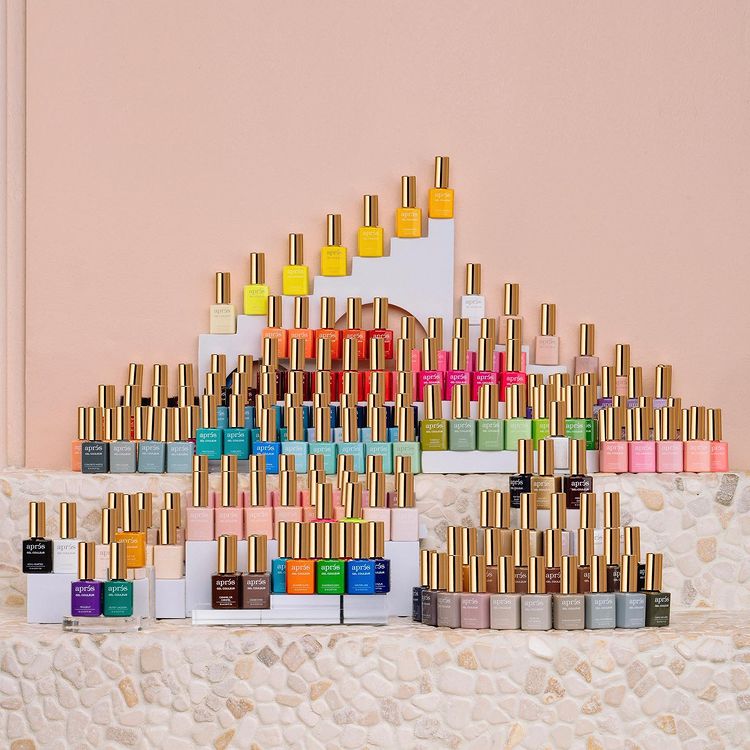
Apres Gel Polish
Apres Gel Polish Experience the innovation of Apres Gel Polish, a professional-grade gel...
-
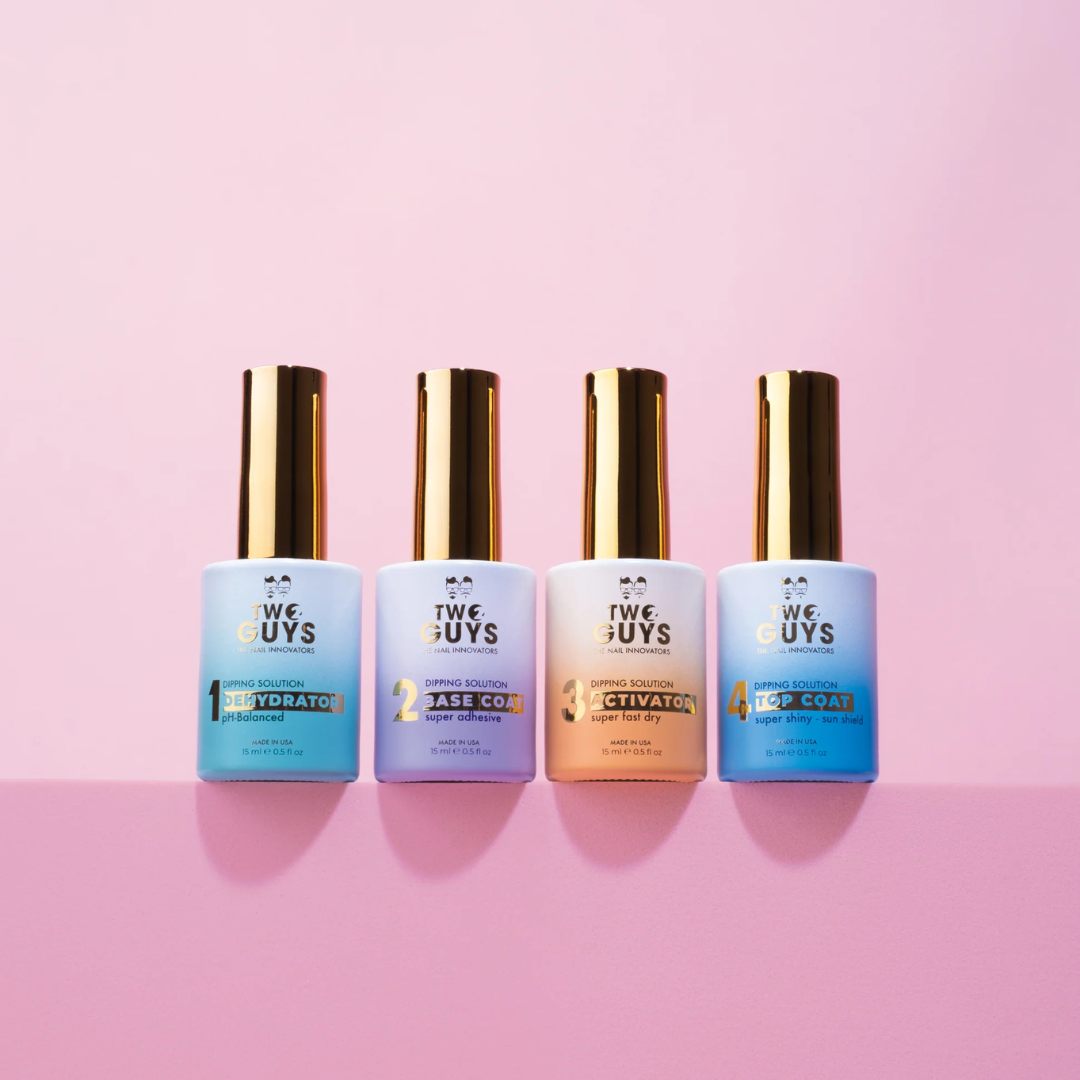
2Guys Dipping Liquid
2Guys Dipping Liquid Enhance your nail services with 2Guys Dipping Liquid, the...
-

Acrylic Monomer – Professional Nail Liquid for Acrylic Nail Systems
Acrylic Monomer – Professional Nail Liquid for Acrylic Nail Systems Achieve flawless,...
-
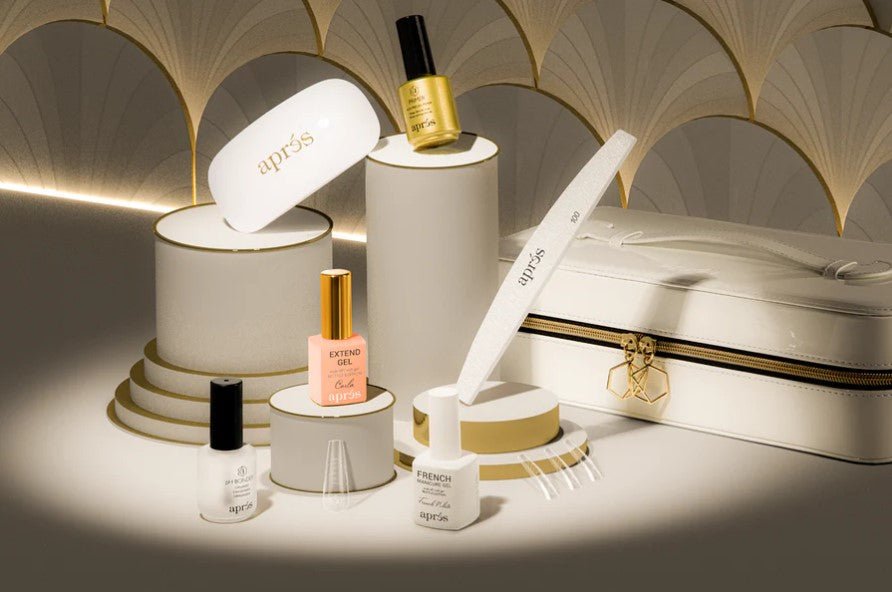
Apres Gel-X
Apres Gel-X Aprés Nails Elevate your nail services with Apres Gel-X and...
-
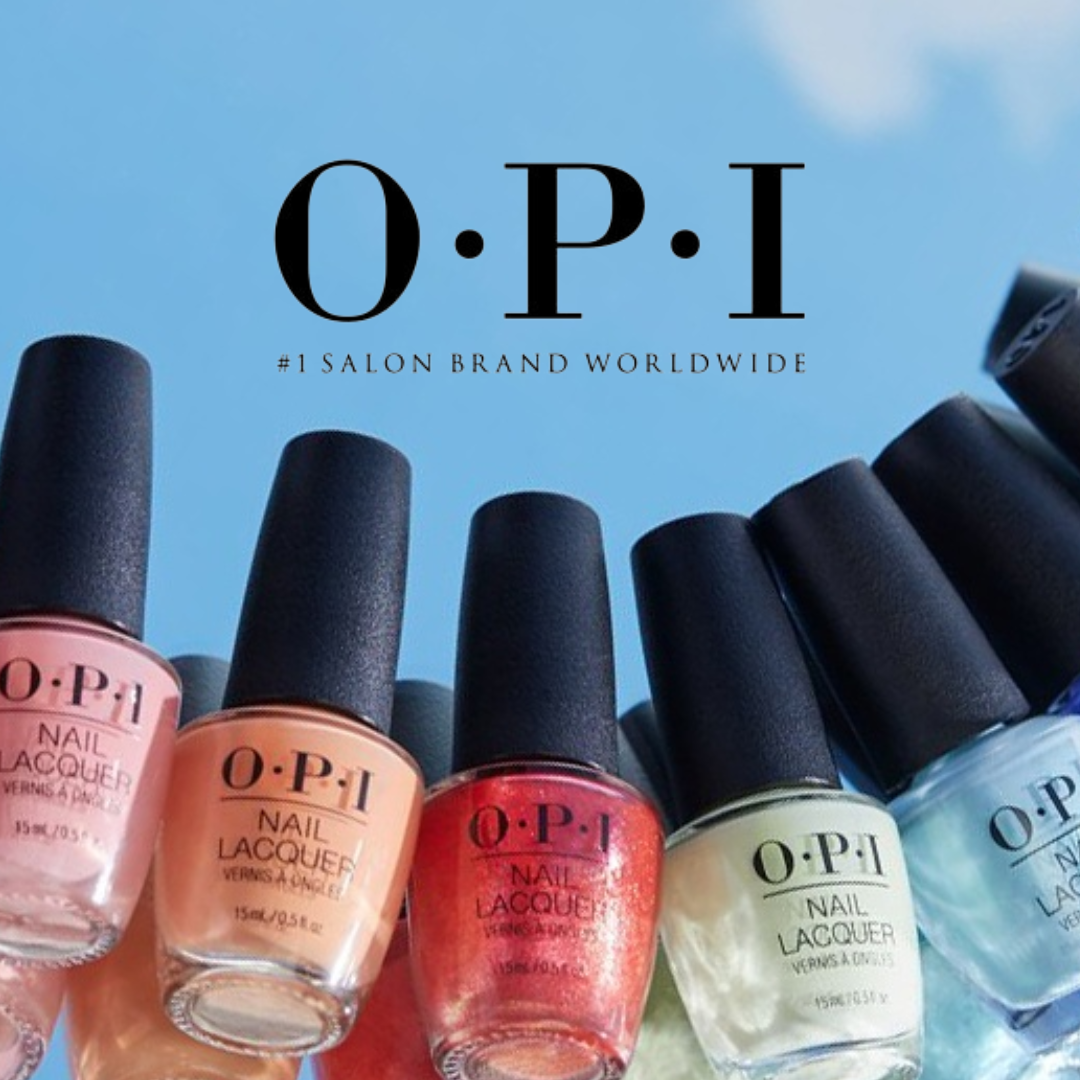
OPI Nail Polish & Gel Collection – Professional, Long-Lasting Colors
OPI Discover the iconic OPI nail polish and gel collections loved by...
-

Essie Gel Couture Pattern Play Collection
Essie Gel Couture Pattern Play Collection Step up your manicure game with...
-
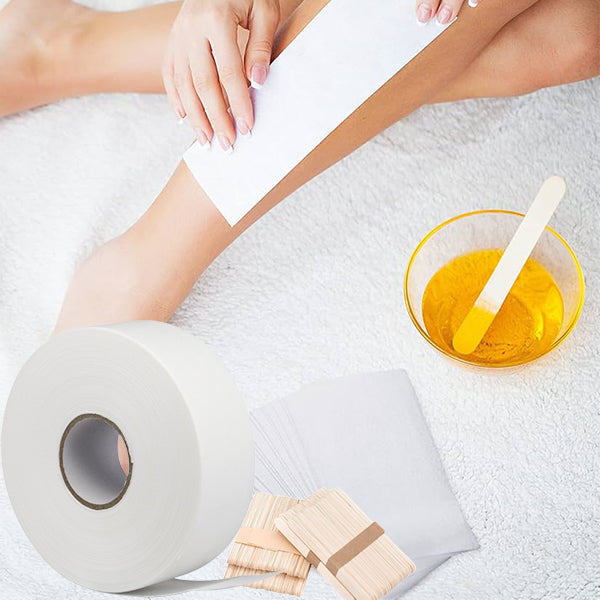
Hair Removal Wax
Professional Hair Removal Wax Achieve silky smooth skin with our professional Hair...
-
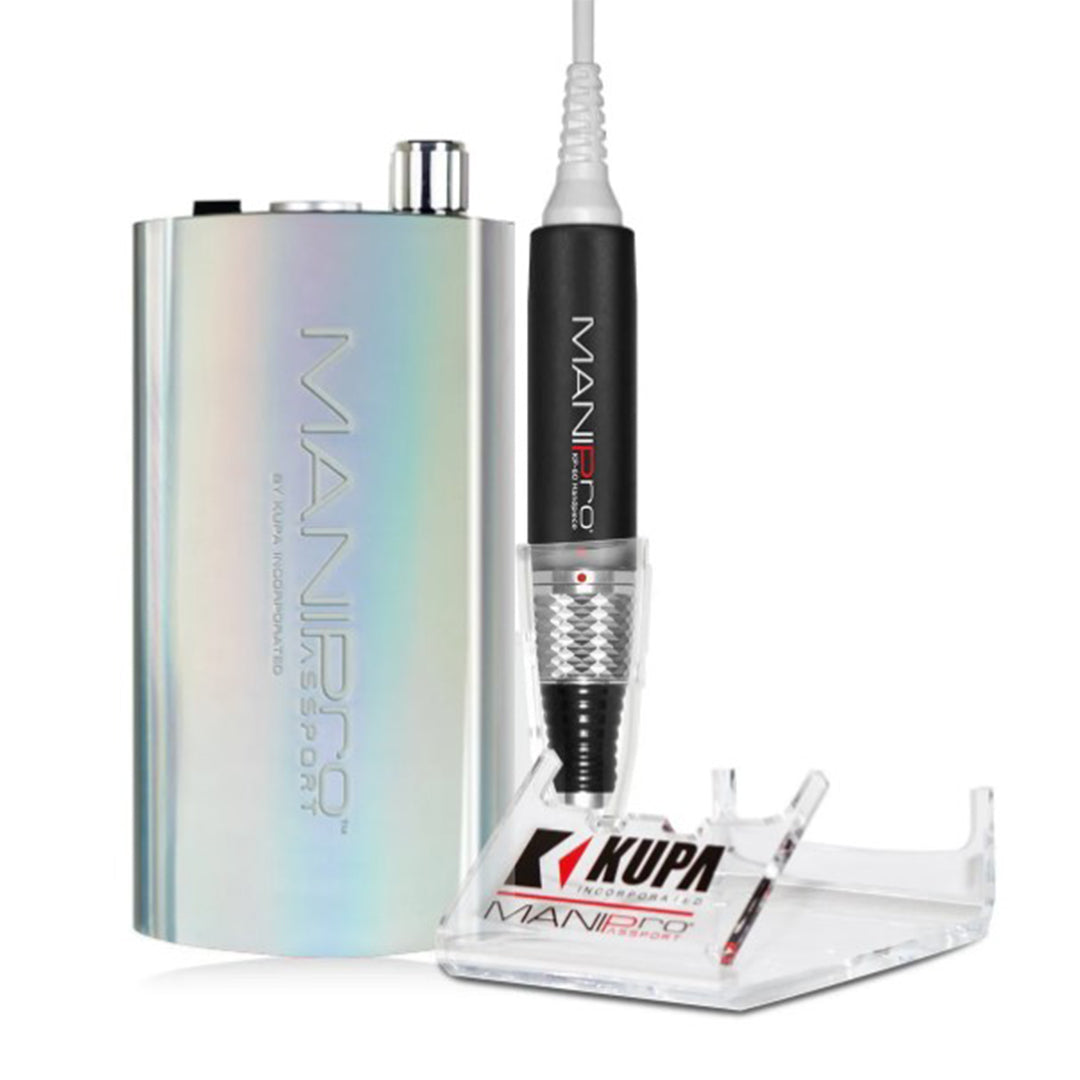
Wholesale EFile, Nail Drill Machine
EFile nail drill, Nail Drill Machine, Electric Nail Drill Gone are the...
-
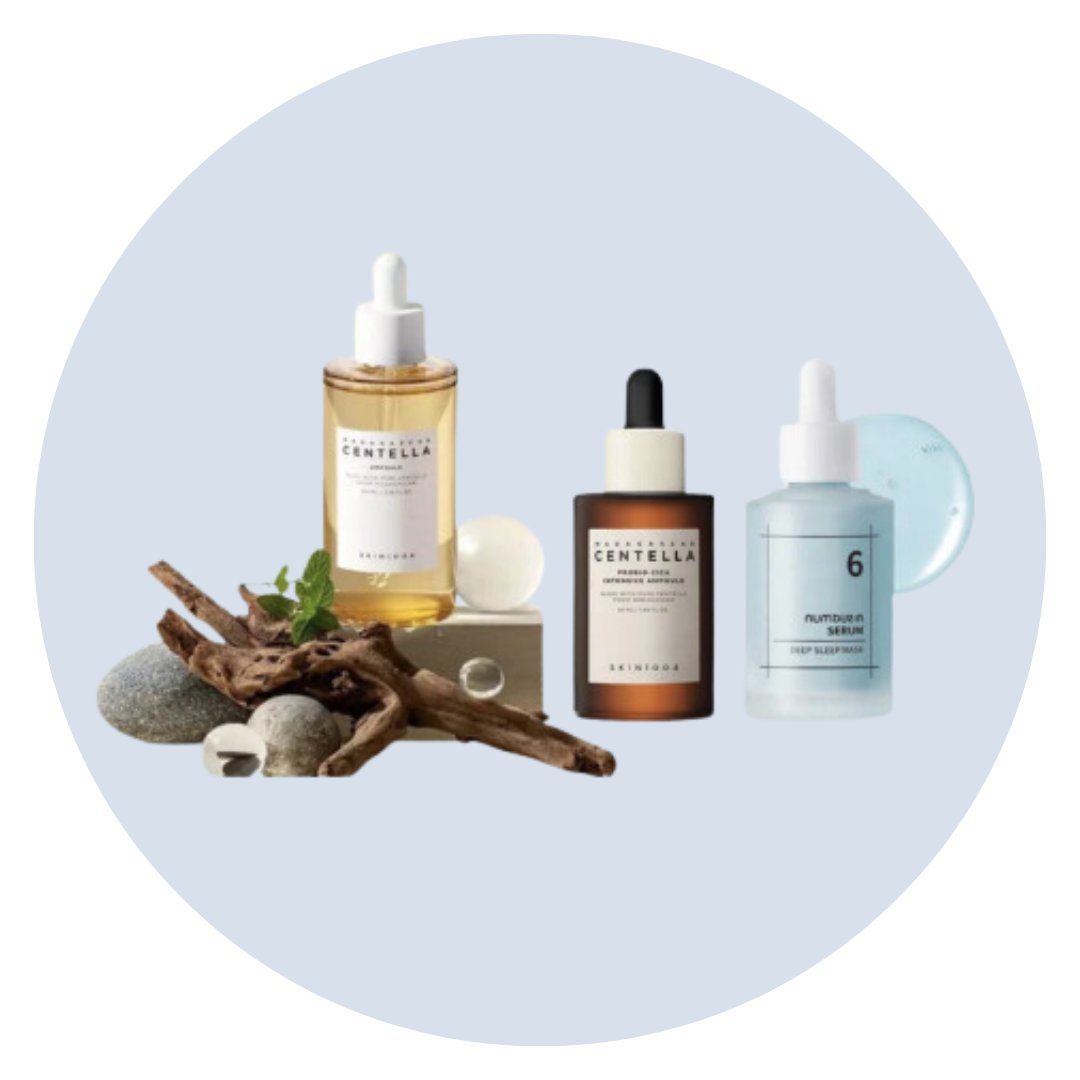
Korean Skincare – Numbuzin, COSRX, Mixsoon, Skin1004 & More
Korean Skincare – Numbuzin, COSRX, Mixsoon, Skin1004 & More Experience the...


Keep Up With our Blogs
VIEW ALL-

OPI XPRESS/ON Nail Art – A Sliver Of Paradise: ...
OPI XPRESS/ON Nail Art – A Sliver Of Paradise: Salon-Quality Press-On Nails with a Luxe Metallic Finish Bring effortless glamour to your fingertips with OPI XPRESS/ON Nail Art – A...
OPI XPRESS/ON Nail Art – A Sliver Of Paradise: ...
OPI XPRESS/ON Nail Art – A Sliver Of Paradise: Salon-Quality Press-On Nails with a Luxe Metallic Finish Bring effortless glamour to your fingertips with OPI XPRESS/ON Nail Art – A...
-

Énoi Ice Top Gel – The Perfect Balance of Stren...
Énoi Ice Top Gel 4g – The Perfect Balance of Strength, Shine & Control If you're looking for a premium hard top gel that delivers exceptional durability, effortless application, and...
Énoi Ice Top Gel – The Perfect Balance of Stren...
Énoi Ice Top Gel 4g – The Perfect Balance of Strength, Shine & Control If you're looking for a premium hard top gel that delivers exceptional durability, effortless application, and...
-

The Best Place for New Nail Technicians to Buy ...
The Best Place for New Nail Technicians to Buy Wholesale Nail Supplies in Toronto & the GTA Starting your career as a nail technician is exciting—but choosing the right wholesale...
The Best Place for New Nail Technicians to Buy ...
The Best Place for New Nail Technicians to Buy Wholesale Nail Supplies in Toronto & the GTA Starting your career as a nail technician is exciting—but choosing the right wholesale...


