Kokoist Pushu Pushu Fluffy Powder Tutorial: Achieve Perfect Plush Nails


How to Apply Kokoist Pushu Pushu Fluffy Powder (Step-by-Step)
Applying Kokoist Pushu Pushu Fluffy Powder is surprisingly easy, and with the right technique, you can achieve perfectly plush, long-lasting nail art every time. Whether you’re a professional nail technician or a DIY enthusiast, follow these steps to get flawless, fluffy results:
✨ Step 1: Prep the Nails Properly
Start with clean, prepped nails.
-
Gently push back cuticles, shape the nails, and lightly buff the surface to remove shine.
-
Clean the nails thoroughly with a lint-free wipe and nail cleanser to remove oils or dust.
Proper prep ensures the gel and powder adhere smoothly and last longer.
💅 Step 2: Apply Base Coat & Color
-
Apply a thin layer of base coat and cure fully under a UV/LED lamp according to your gel’s instructions.
-
Next, apply your desired color gel polish. You can use a matching color to your Pushu Pushu powder for a seamless look or a contrasting shade for creative effects.
-
Do not top coat yet. Keep the surface tacky or uncured, depending on your technique.
🌬 Step 3: Spray on Pushu Pushu Fluffy Powder

Here’s where the magic happens.
-
Before curing the final gel layer, evenly spray the Kokoist Pushu Pushu Fluffy Powder over the entire nail.
-
Use a fine sprayer or powder applicator for even distribution. Hold it a few inches away to avoid clumping.
-
You can fully coat the nail for a plush look or apply strategically for accents and designs.
💡 Pro Tip: Place a tray or paper underneath to catch excess powder — you can reuse it later and keep your workspace clean.
💡 Step 4: Optional Design Detailing
If you’re creating 3D or layered designs, this is the perfect stage to add details before curing:
-
Use a detail brush or dotting tool to shape fluffy areas, define edges, or add patterns.
-
You can combine Pushu Pushu with 3D gel to sculpt plush characters, textured flowers, or sweater patterns.
☀️ Step 5: Cure Under UV/LED Lamp
Once you’re happy with the placement, cure the nail fully.
-
The powder will bond with the gel during curing, locking in the soft texture.
-
Follow your gel system’s curing time (usually 30–60 seconds LED or 1–2 minutes UV).
🧹 Step 6: Remove Excess Powder
After curing, gently brush off any loose fibers using a soft dust brush. This reveals a clean, plush, velvety finish without affecting the texture.
🌟 Step 7: Optional Top Coat Protection
For most fluffy designs, top coat is not applied, so the plush texture remains soft and tactile.
However, if you want to:
-
Seal specific areas (like nail tips or accents) for extra durability.
-
Or lightly apply a matte or glossy top coat over select sections to create mixed-texture designs (e.g., glossy + fluffy combos).
📝 Extra Tips for Best Results
-
✅ Use thin, even gel layers to avoid uneven texture.
-
✅ For clean edges, apply powder slightly away from the cuticle area.
-
✅ Store your Pushu Pushu Fluffy Powder in a cool, dry place to keep fibers fluffy and static-free.
-
✅ Experiment with color layering — try white powder over pastel gels for a dreamy, cloud-like effect.
This detailed method ensures that Kokoist Pushu Pushu Fluffy Powder adheres beautifully, creating long-lasting, plush nail art that looks as good in real life as it does in photos. Whether you’re creating full fluffy sets, accent nails, or 3D plush characters, this application technique guarantees professional-level results every time.
Shop Kokoist Pushu Pushu Fluffy Collection


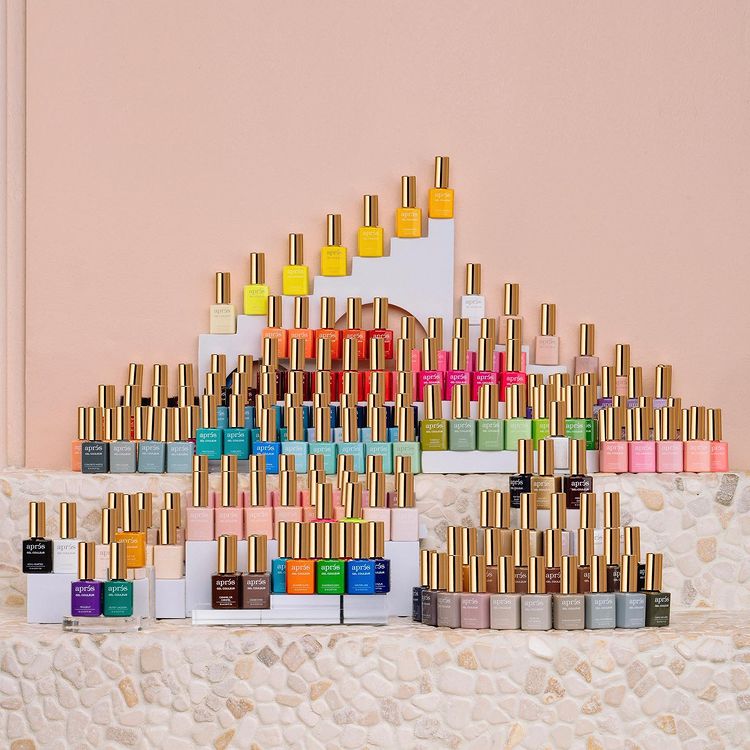
Discover Classique Nail Supply
-
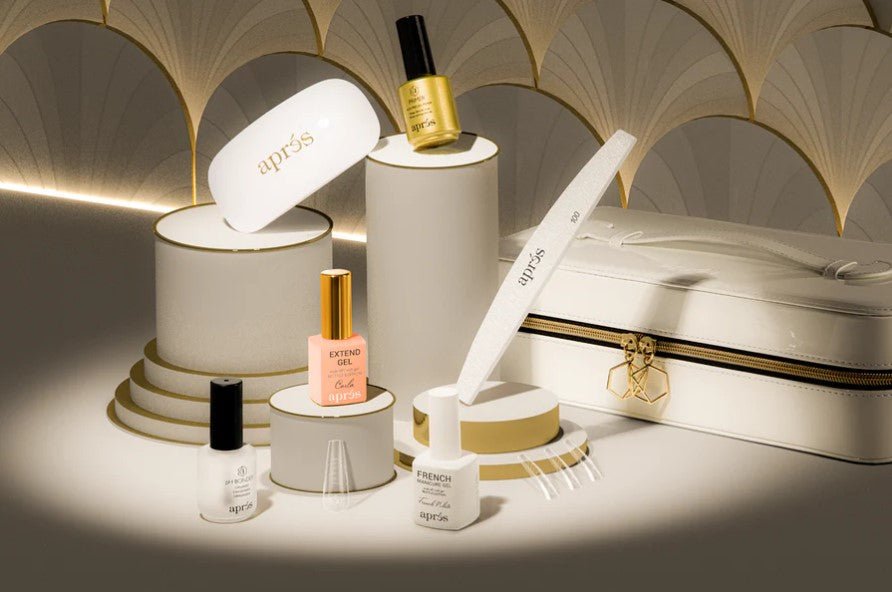
Apres Gel Polish
Apres Gel Polish Experience the innovation of Apres Gel Polish, a professional-grade gel...
-
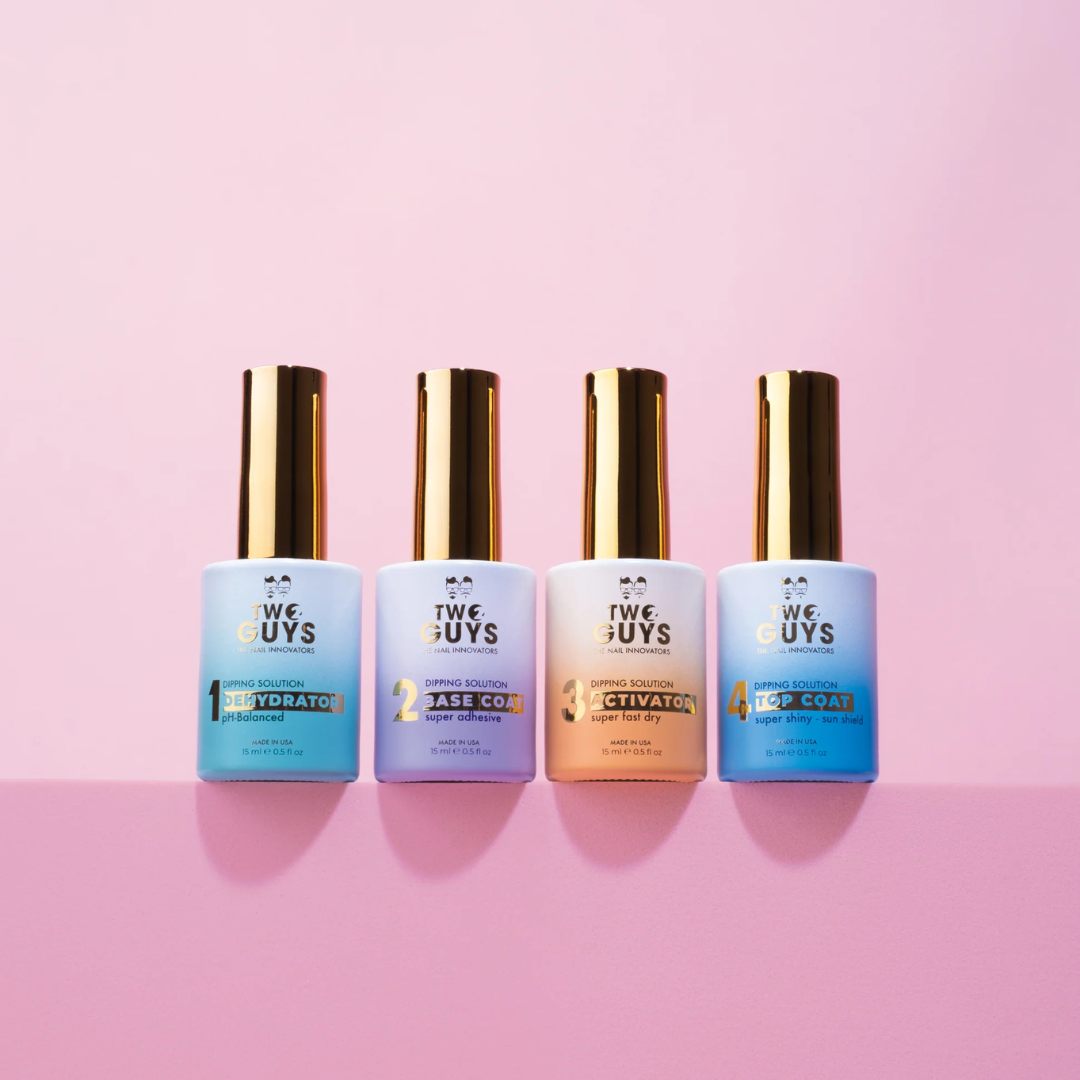
2Guys Dipping Liquid
2Guys Dipping Liquid Enhance your nail services with 2Guys Dipping Liquid, the...
-

Acrylic Monomer – Professional Nail Liquid for Acrylic Nail Systems
Acrylic Monomer – Professional Nail Liquid for Acrylic Nail Systems Achieve flawless,...
-
Apres Gel-X
Apres Gel-X Aprés Nails Elevate your nail services with Apres Gel-X and...
-
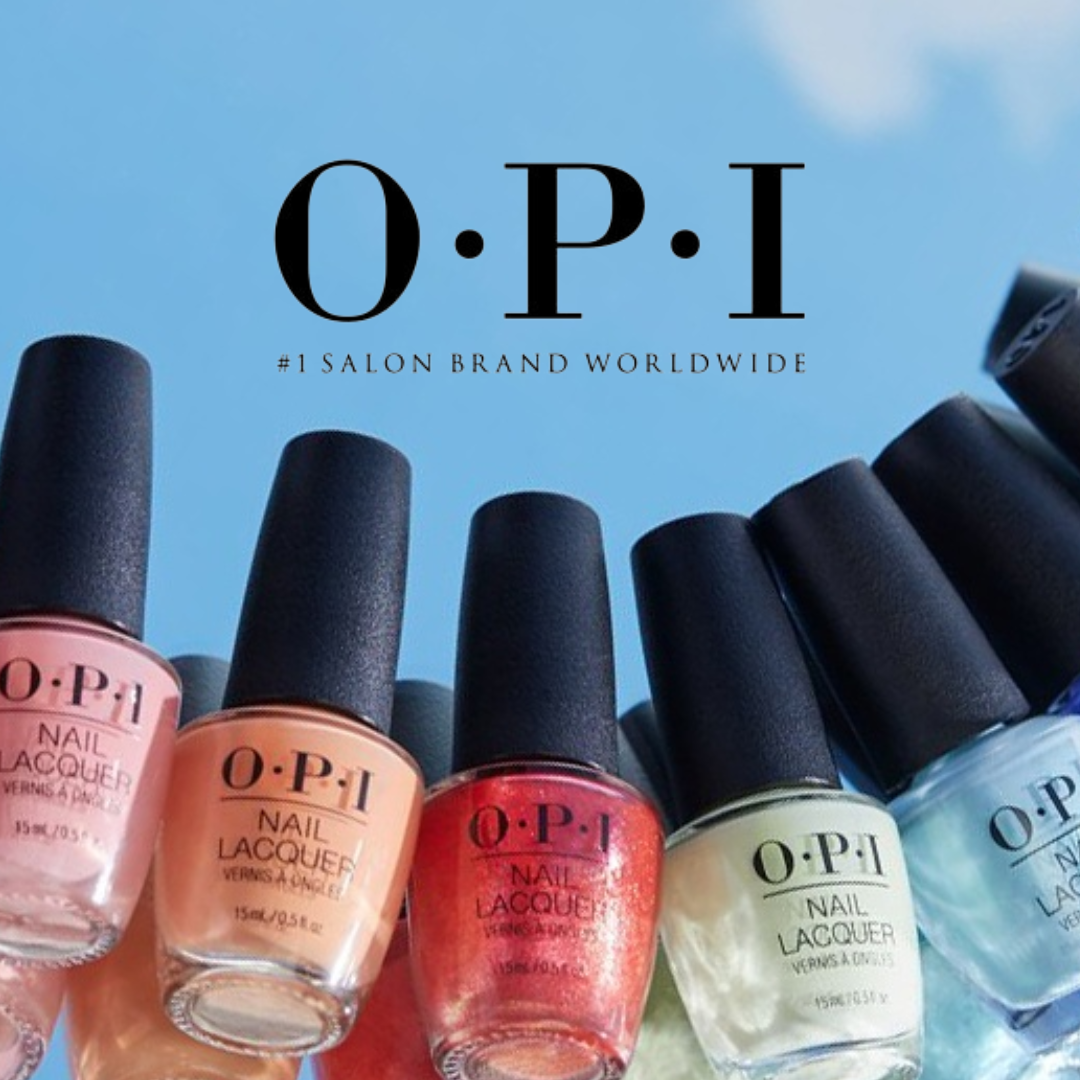
OPI Nail Polish & Gel Collection – Professional, Long-Lasting Colors
OPI Discover the iconic OPI nail polish and gel collections loved by...
-

Essie Gel Couture Pattern Play Collection
Essie Gel Couture Pattern Play Collection Step up your manicure game with...
-
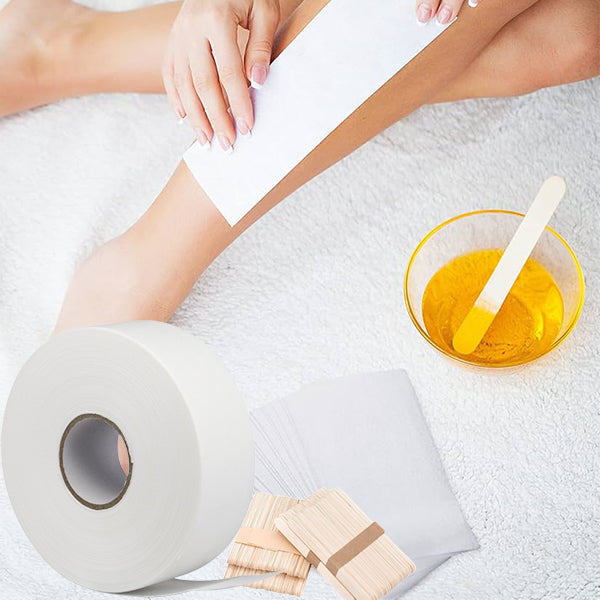
Hair Removal Wax
Professional Hair Removal Wax Achieve silky smooth skin with our professional Hair...
-
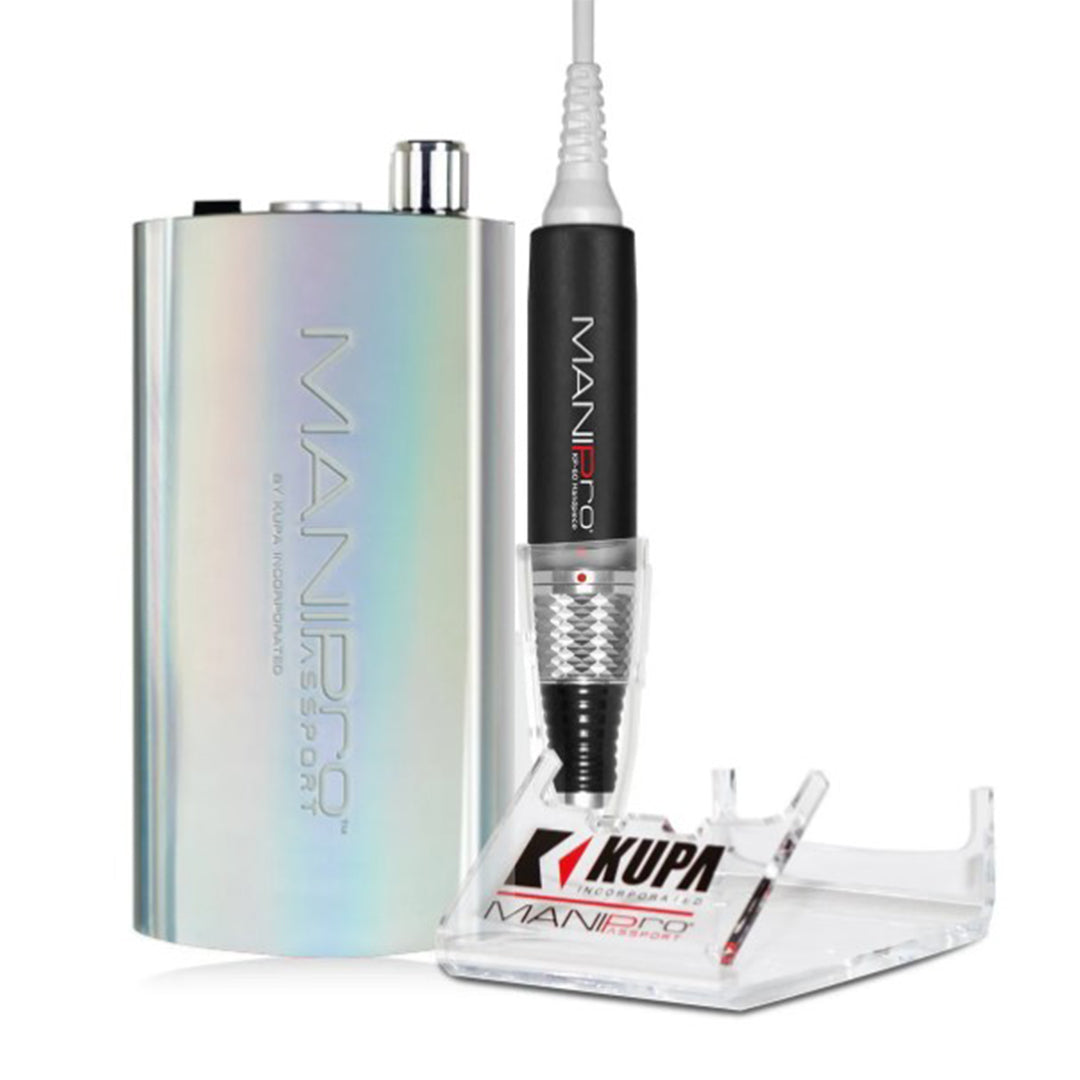
Wholesale EFile, Nail Drill Machine
EFile nail drill, Nail Drill Machine, Electric Nail Drill Gone are the...
-
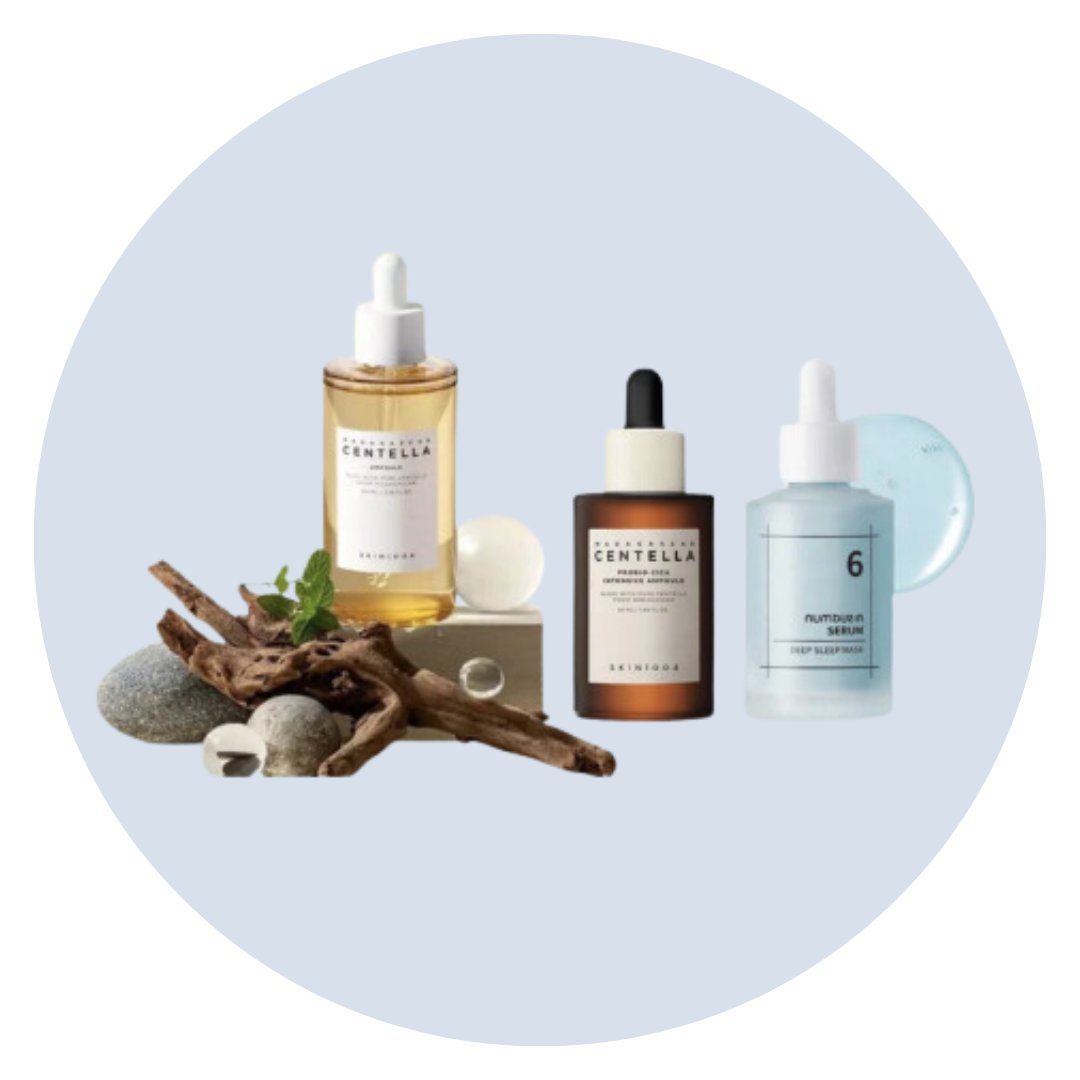
Korean Skincare – Numbuzin, COSRX, Mixsoon, Skin1004 & More
Korean Skincare – Numbuzin, COSRX, Mixsoon, Skin1004 & More Experience the...


Keep Up With our Blogs
VIEW ALL-

Mother’s Day Nail Trends 2026: Elegant Designs ...
Mother’s Day Nail Trends 2026: Elegant Designs & Must-Have Products for the Perfect Set Mother’s Day is the perfect moment to create something thoughtful, polished, and elevated—and this year’s Mother’s Day...
Mother’s Day Nail Trends 2026: Elegant Designs ...
Mother’s Day Nail Trends 2026: Elegant Designs & Must-Have Products for the Perfect Set Mother’s Day is the perfect moment to create something thoughtful, polished, and elevated—and this year’s Mother’s Day...
-

NailPop Patting Gels & Solid Gel Palettes: ...
NailPop Patting Gels & Solid Gel Palettes: The Ultimate Guide to Effortless Nail Art Nail art is evolving—and NailPop Patting Gels and Solid Gel Palettes are leading the next wave...
NailPop Patting Gels & Solid Gel Palettes: ...
NailPop Patting Gels & Solid Gel Palettes: The Ultimate Guide to Effortless Nail Art Nail art is evolving—and NailPop Patting Gels and Solid Gel Palettes are leading the next wave...
-

énoi Spring New Arrivals: The Magnetic Nail Tre...
énoi Spring New Arrivals: Prism, Jewel, Jelly Magnet, Magnet Flash, Diamond Flash & Multi-Magnets Spring is a season of transformation—and the latest énoi Spring collection captures that shift with light-reflecting...
énoi Spring New Arrivals: The Magnetic Nail Tre...
énoi Spring New Arrivals: Prism, Jewel, Jelly Magnet, Magnet Flash, Diamond Flash & Multi-Magnets Spring is a season of transformation—and the latest énoi Spring collection captures that shift with light-reflecting...


